2021. 11. 10. 16:36ㆍIT/Kubernetes
Kubernetes에서 기본 모니터링을 할 수 있도록 구성해본다. 가장 많이 사용되는 오픈소스로 Prometheus, Grafana 구성이다.
1. Helm 설치
- Helm v3.0.0 이상을 설치한다.
curl https://raw.githubusercontent.com/helm/helm/master/scripts/get-helm-3 > get_helm.sh
sudo chmod 700 get_helm.sh

./get_helm.sh
- Helm Chart Repo를 추가하고, 업데이트한다. (본문에서는 Git에서 Chart를 직접 다운받는다.)
설치한 Helm이 v3.0.0 이상임을 확인한다.
helm repo add stable https://charts.helm.sh/stable
git clone https://github.com/kubernetes/charts
helm repo update
helm search repo stable
helm version
2. Prometheus 설치
- Helm을 통해 Prometheus를 배포한다. charts/stable/prometheus 폴더로 이동한다.
배포하기 전에 외부에서 Prometheus 대시보드에 접근하기 위해 설정이 필요하다. values.yaml 파일에서 Alert manager와 Server 설정을 수정한다. 본문에서는 type을 nodePort로 변경하고 Port를 지정하여 외부에서 접근할 수 있도록 수정하였다.
수정 내용은 아래와 같다. (values.yaml)
loadBalancerIP: ""
loadBalancerSourceRanges: []
servicePort: 80
nodePort: 30005
sessionAffinity: None
type: NodePort
loadBalancerIP: ""
loadBalancerSourceRanges: []
servicePort: 80
sessionAffinity: None
type: NodePort
nodePort: 30006
- Prometheus를 클러스터에 배포하고, Pod 상태를 확인한다.
helm install prometheus --create-namespace --namespace prometheus stable/prometheus -f values.yaml
kubectl get all -n prometheus
- http://서버IP:30006에 접속하여 정상 동작을 확인한다.

3. Grafana 설치
- Helm을 통해 Grafana를 배포한다. charts/stable/grafana 폴더로 이동한다.
- values.yaml에서 Service Object와 Service Type 설정을 수정한다.
service:
 type: NodePort
 port: 80
 targetPort: 3000
 nodePort: 30007
 # targetPort: 4181 To be used with a proxy extraContainer
 annotations: {}
 labels: {}
 portName: service
- 초기 Grafana 대시보드 접속 시, 사용할 adminPassword를 설정한다. (values.yaml)
# Administrator credentials when not using an existing secret (see below)
adminUser: admin
adminPassword: admin
- Grafana를 클러스터에 배포하고, Pod 상태를 확인한다.
helm install grafana --create-namespace --namespace grafana stable/grafana -f values.yaml
kubectl get all -n grafana
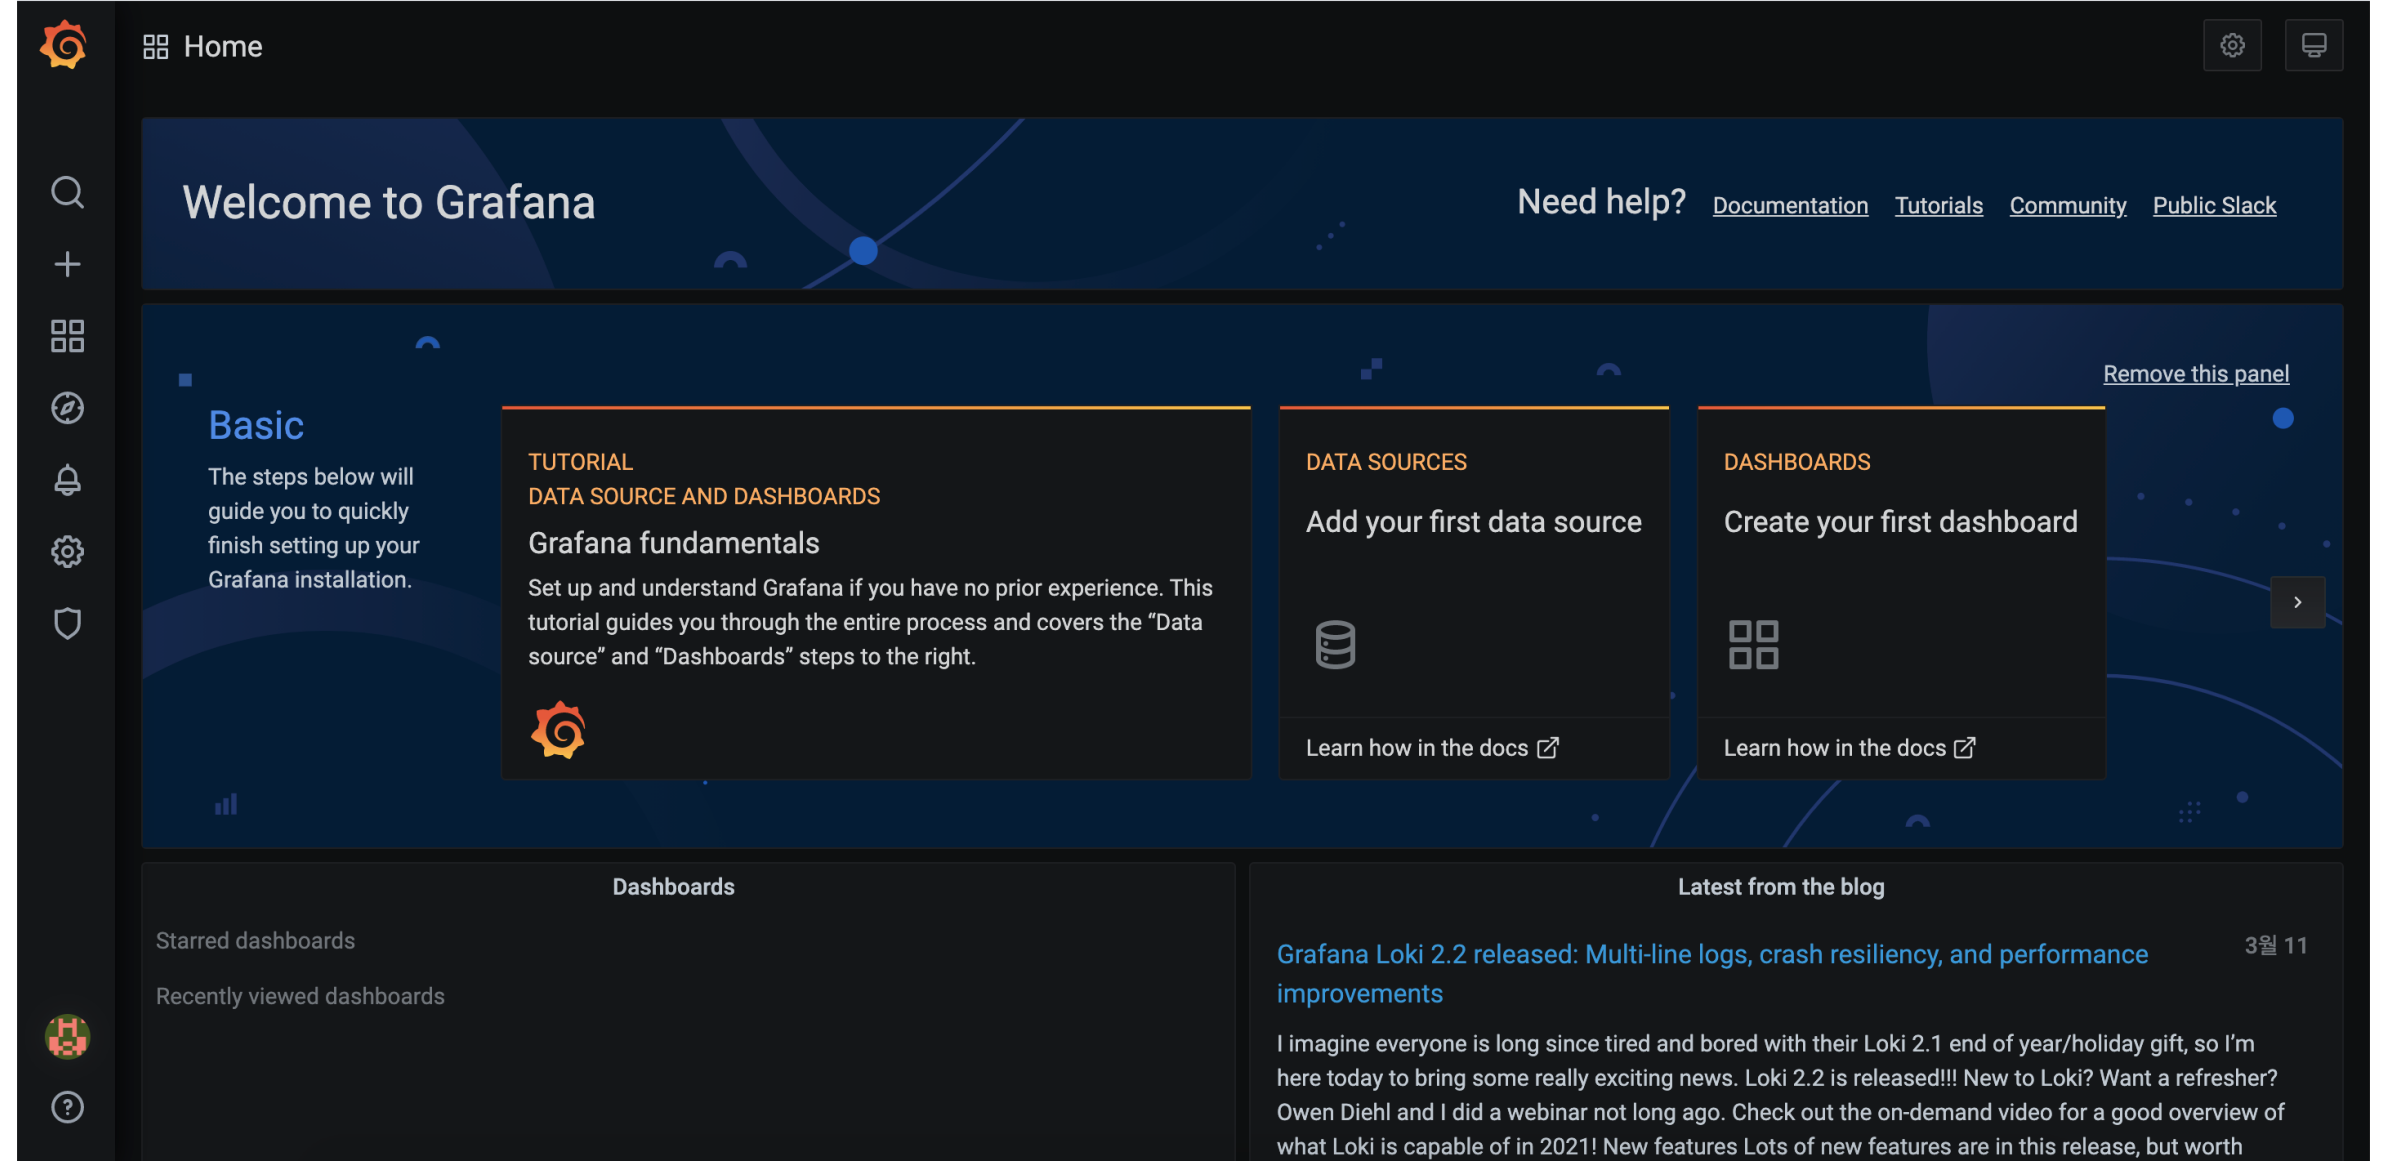
- http://서버IP:30007에 접속하여 정상 동작을 확인한다.

4. Prometheus, Grafana 연동
- Grafana 대시보드에서 Add data source를 통해 Prometheus 서버를 연동한다.
kubectl get svc -n prometheus에서 확인한 prometheus-server의 클러스터 IP 및 Port를 입력한다.

- kubernetes 관리에 맞는 템플릿을 적용하여 확인한다.

5. Thanos 설치
https://thanos.io/v0.15/thanos/quick-tutorial.md/
Thanos
Thanos - Highly available Prometheus setup with long term storage capabilities
thanos.io
'IT > Kubernetes' 카테고리의 다른 글
| Kubernetes Istio 설치/적용하기 (Kubernetes Istio service mesh) (0) | 2021.11.10 |
|---|---|
| Kubernetes Elastic Stack 구성하기 (Elasticsearch, Kibana, Beats, Logstash 설치) (0) | 2021.11.10 |
| Azure Files로 Kubernetes Persistent Volumes 구성하기 (0) | 2021.11.10 |
| AWS EFS로 Kubernetes Persistent Volumes 구성하기 (0) | 2021.11.10 |